Remember the first time you dove into a fresh batch of cookies that you spent days perfecting, tweaking the recipe, and trying something different each time to come up with something that melts in your mouth? We understand how exciting it is for an avid baker to stock baking supplies that promise to deliver the best outcome. Whether you have a dominant sweet tooth or enjoy baking for others, check out these 9 tips and tricks and keep your dessert plates full and countertops clean.
9 Baking Supply Organizing Ideas
1. Cake Pan Organization
Are you tired of cake pans tumbling out of your cupboards? While you may be tempted to place the bigger pans at the bottom and go smaller and smaller to build a leaning tower, hear us out - you can place the smaller pans inside the big ones and they will balance the next layer. This way, you can create a smaller, more stable stack of pans. For same-sized pans, you can build a pyramid so that all of the pans are sitting flat.
2. Prevent Colour Chaos
As bakers, we are sure you know how gel colours can get everywhere and stain your fingers for days. Instead of chucking all your colour tubes into a bowl, use a multi-compartmental case intended for lipsticks or nail polish. The dividers in the case will make it impossible for the tubes to topple over, ensuring they remain upright. You can also dab a little paint on top of the caps for colour coding, making it easy for you to pick out the desired shade quickly.

3. Cake Combs
There’s nothing more satisfying than gently gliding your cake comb along your cake as it spins on the turntable. Depending on how you want the cake to turn out, cake combs can be used to achieve either a smooth and seamless frosting or a textured surface. It can be a pain to look for cake combs through your drawer or makeshift box. You can use a designated plate rack to neatly segregate the combs so you can quickly grab them - whether you need a smooth acrylic comb for a refined tiered wedding cake or a textured metal comb.

4. Tackle With Containers
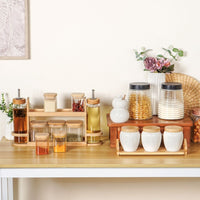
Baking ingredients in half-opened packets can be incredibly messy with flour dust floating everywhere and sitting on your countertops. Tidy up your space by investing in airtight containers to your ingredients and leftovers fresh while taking up as little room as possible. From baking basics like flour, sugar, and butter with which you kickstart your delectable creations to useful leftovers like chopped nuts, coconut shreds, batters, and doughs - store everything inside these nifty and affordable containers.
5. Use Clear Glass Jars
Shoving things like chocolate pearls and candy melts in their original packaging inside plastic containers can cause them to spill out or mix at the bottom. You can use clear glass jars with airtight lids so that you can see exactly what you need and grab it quickly. You can also similarly store your sprinkles.
6. Arranging Cookie Cutters
While cookie cutters are useful tools for creating whimsical shapes for your favourite, we’ll bet storing them has you at your wit’s end. We are sure you have never been able to cram all your cutters into a box and scouring through your drawer to find the right cutter has always been tedious. This is where a pegboard or wall rack with hooks comes to the rescue, allowing you to suspend your cutters from the pegs. The pegboard also displays all the cutters separately in plain view so that you can lift off the one you need. You can also arrange the cutters row-wise based on themes, holidays, and seasons.
7. Stencil Storage
Although stencils are thin and lay out flat without taking much space, it can be a bit of a pickle to look through a pile for the stencil you have in mind. You can use a display book with clear plastic sleeves and insert the stencils into each sleeve. One flick through the folder and voilà - the stencil you need is in front of you! An unused photo album can also be used for this purpose. You can group several stencils of the same theme and place them inside the same sleeve.

8. Piping Tips
Piping tips provide endless creative possibilities for decorations, be it for teeny tiny cupcakes or towering cakes. The multitude of shapes on each tip creates different textures and shapes once the icing leaves the piping bag. But placing them in a box where they are all mixed together will make it hard for you to find the right tip, which can be incredibly frustrating if you are hurrying up for guests or your booming business. You can use a plastic craft box with sections or mini containers to assemble your piping tips by type. Place all your star tips in one section and petal tips in another.

9. Silicone Moulds
Silicone moulds are extremely useful, whether you are turning your cacao nibs into rich homemade chocolates or making candies for the kids. Instead of cramming all your silicone moulds into a single box, you can use hanging folders to put your moulds into each one. You can also label them to find the right one.
Conclusion
There is nothing compared to the joy of baking - whether it is the whiff of cinnamony gingerbread that clouds your kitchen or peering in through your oven door to catch a glimpse of your meringue cookies fluffing up and turning a gorgeous amber shade. We want you to embrace these rewarding moments without fretting over messy countertops and stained aprons by following a process that is time-consuming and tedious. We’ve compiled a list of clever storage solutions that promise pantry perfection. Discover the nitty gritty of baking supply storage with our tips and tricks, and chase your sugar highs!
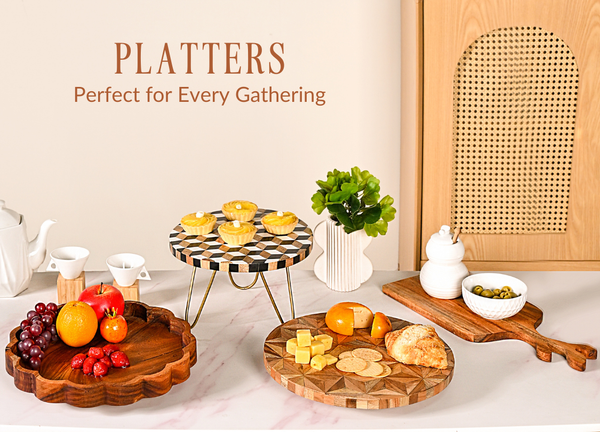
We have some good news! You can now beautifully display your cakes, pastries, macarons, cookies, and other sweet treats with our tiered cake stands. Speaking of all things sweet, let's not miss out your partner. This Valentine's Day, surprise them with thoughtful gifts and strengthen your bond. Discover gorgeous scarves, mesmerizing wall art, lunch bags, jewellery boxes, platters, and more romantic offerings.

